

Tips & tutorials
Tutorials for the perfect blowout
Learn in a few steps how to use your airstyler and hair dryer for a result that actually lasts.
Blowout tutorial with Hair by Gaby
With English subtitles
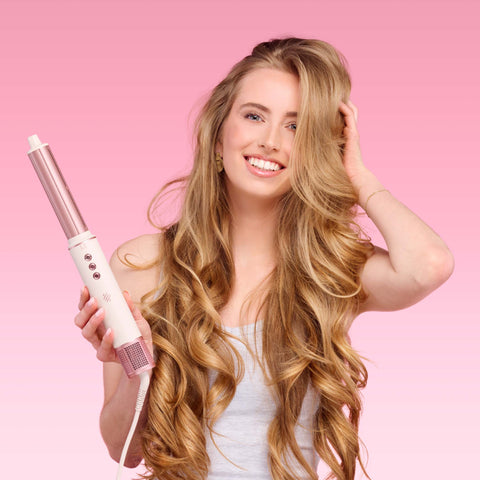
Hair By Gaby shows how to use the curling attachment to create a blowout that lasts.
Blowout tutorial with Kyra Steggink
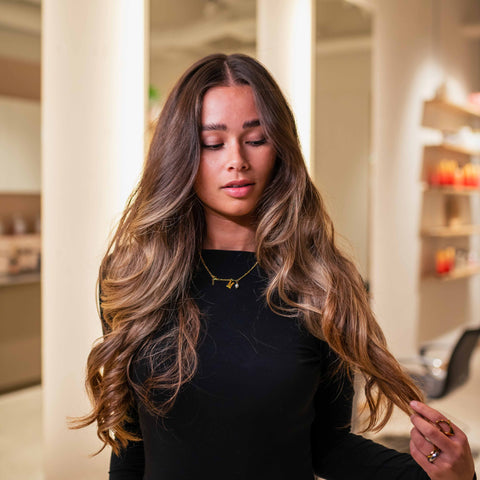
Kyra Steggink walks through the technique step by step.
6 steps to the perfect blowout
Follow these 6 steps for a blowout that lasts.

Start with slightly damp hair
Towel-dry your hair briefly. It should be damp, not wet: that's when the curl holds best and lasts longest.

Protect your hair before you start
Apply a heat protector all over and add styling mousse for volume and hold. Both go on before you blow-dry, not after. See our recommended hair products here.

Pre-dry and section your hair
Blow-dry until your hair is almost dry, with only the ends still slightly damp. Then clip it up in sections of 2 to 3 centimetres and start at the bottom.

Curl section by section
Let the ends hang loose and let the airflow pull your hair around the attachment. Heat until the section is dry (30 to 40 seconds), then cool it down on the cold setting (30 to 40 seconds).

Finish and lock it in
Turn the styler off before you slide the attachment out, and pull it straight down. Let your hair cool down completely before you run your fingers through it, and finish with a light hairspray if you like.
Not quite working yet?
Usually it's one of these:
- Hair too wet or too dry while styling
- Sections too big, airflow can't get a grip
- Curl released while it was still warm
- Practice: you'll pick up the technique after a few tries
Still stuck? Ask me and I will walk you through it.


